
 The Far Lands - Pindos and Rhodos
The expansion guide. How to reach Pindos (capital Metsovo) and Rhodos (capital Lindos), the road from the first quest through the zone ladder and the land bosses to the raid seal, all 18 Far Lands quests, the Hall of the Boreads and the Temple of the Hidden Sun, the Krystallos and Pyros raid sets and the land gear below them, skills from 150 to 200, the towns and the point-store lines.

Two new lands
The world grows past Hellas in two directions. In the far north-west lies Pindos, a frozen land beyond the North Wind, with its capital Metsovo. Across the sea to the east lies Rhodos, the Sands of Ammon, with its capital Lindos. Each land has its own quests, a ladder of monster zones, three land bosses, dungeons, a slayer master, skilling for levels 150 to 200 and a raid at the end of it.
The two lands stand alone. You can go to either first, and everything one land asks of you is found in that land.
| Pindos | Rhodos | |
|---|---|---|
| Capital | Metsovo | Lindos |
| Climate | Bitter cold: your warmth drains outdoors | Fierce heat: you thirst in the sun |
| Zones | 6 | 7 |
| Land bosses | Gryps, the Ketos, Kryos | The Sphinx, the Maw, the Scorpion King |
| Raid | The Hall of the Boreads | The Temple of the Hidden Sun |
| Raid set | Krystallos (ice) | Pyros (fire) |
| Land material | Rimeheart | Sunstone |
| Slayer master | Atalanta | Perseus |
| Quest giver | Theano, priestess of Khione | Kleobulos, priest of Helios |
There is no gear gate, but the monsters here hit hard. The game's own advice on arrival: come in Sovereign-tier gear or better. Much of the skilling and several quests start at level 150.
Getting there
| Pindos | Rhodos | |
|---|---|---|
| Teleport | Teleport menu, Locations: Pindos - Metsovo (lands in Metsovo's agora) | Teleport menu, Locations: Rhodos - Lindos (lands on the harbour quay) |
| On foot / by sea | From Khione's Watch (between Delphi and Trachis), take the west gate into the snows and follow the Metsovo Pass north through the Metsovo Gate. Signposts lead on through Rhipaea to Metsovo. | Board the felucca at the Kenchreai quay by Corinth. It sails south-east to the Lindos harbour, and back again. |
The signpost at the Kenchreai bridge points the way to both lands.
The climate
- Pindos drains your warmth outdoors. Stop by a fire or a lit brazier - there are braziers along the roads, zones and towns. The Quartermaster, just inside Metsovo's east gate, sells the Pindos furs (25,000 Dracma a piece), an Ember flask and a Portable brazier.
- Rhodos makes you thirst in the sun. Carry Ammon's waterskin and drink at the wells. The Quartermaster of Lindos, on the harbour quay north of the felucca, sells the waterskin and the Libyan robes (25,000 Dracma a piece).
- The Wayfarer's outfit (Skilling Point Store, or Bond Point Store) makes you immune to both frost and heat outside the raids, and the land potions below help too.
The road: quest, zones, bosses, seal
Each land is one line from arrival to its raid. Every step is ticked off in ::progress - add pindos or rhodos to see just one land.
- 1The land's first quest. In Pindos, start The Frost-Bound Folio with Theano and read the frost-writing on the altar of Metsovo - that opens zone 1. In Rhodos, starting The Sun-Scorched Leaves with Kleobulos opens zone 1 (its first step is the zone 1 hunt). Zone 2 also needs that quest finished.
- 2The zone ladder. Each zone opens after 1,000 kills in the zone before it - either monster of that zone's pair counts. There are no instances: the zones are open-world areas of the land.
- 3The land bosses. Each boss fights you once the zone it sits by is open. You need 5 kills of each of the land's three bosses. Everyone who dealt at least 5% of a boss's hitpoints gets the kill, not just the top hitter.
- 4The raid seal. With the quest, every zone and the boss kills done, the land's seal quest opens - The Gate of the North Wind (Theano, Metsovo) or The Hidden Sun (Kleobulos, Lindos). It ends with the Seal of the North Wind or the Seal of the Hidden Sun, and the raid opens to you.
Kills made before a zone is open to you do not bank toward it, and each counter stops at 1,000 (or 5 for a boss). Grind the zone you are on. Without the seal, the raid's door, its Raids teleport row and its party board all refuse you - and every member of a party needs their own seal.
Pindos - six zones

- 1MetsovoThe capital - bank, agora, Theano and Atalanta's lodge
- 21. The Rhipaean SnowfieldsSnow wolves and snowfield trolls
- 32. The Pinewood of ZetesPinewood bears and frostweb spiders
- 43. WhitestrandRime crabs and rimebound reavers
- 54. The Crevasse FieldsIce giants and crevasse hounds
- 65. The Tongue of BoreasGlacier wyrms and rime colossi
- 76. The Frozen Ruins of Elder PindosFrozen hoplites and rime wraiths
- 8The Griffin's EyrieGryps, the Griffin Queen
- 9The Breach of the KetosThe Ketos
- 10The Glacier ThroneKryos, the Glacier King
- 11The Gate of the North WindThe Hall of the Boreads raid
- 12The Caves of the North WindAtalanta's Slayer dungeon
- 13The Catacombs of Elder PindosDungeon under the ruins
- 14RhipaeaMining camp
- 15Zetes' LodgeHunting lodge
- 16OreithyiaFishing village and herb beds
- 17The Metsovo PassThe road in from Hellas
| # | Zone | Monsters | Opens |
|---|---|---|---|
| 1 | The Rhipaean Snowfields (south of Metsovo) | Rhipaean snow wolf, Snowfield troll | - |
| 2 | The Pinewood of Zetes (west, past Zetes' Lodge) | Pinewood bear, Frostweb spider | |
| 3 | Whitestrand (north of Oreithyia) | Rime crab, Rimebound reaver | |
| 4 | The Crevasse Fields (north-east) | Crevasse ice giant, Crevasse hound | Gryps and the Ketos |
| 5 | The Tongue of Boreas (the glacier, north) | Glacier wyrm, Rime colossus | Kryos |
| 6 | The Frozen Ruins of Elder Pindos (far north-west) | Frozen hoplite, Rime wraith |


Rhodos - seven zones

- 1LindosThe capital - bank, agora, Kleobulos and the Hunters' Court
- 2The PharosThe harbour, where the felucca from Kenchreai puts in
- 31. The Shifting DunesDune jackals and sand crabs
- 42. The Salt PansBrine serpents and salt-crusted crabs
- 53. The Red BadlandsMesa bandits and badlands hyenas
- 64. The Garamantian CanyonGaramantian raiders and outriders
- 75. The NecropolisMummies and Anubite tomb guardians
- 86. The Great Sand SeaSandworms and dune wraiths
- 97. The Scorpion WastesGiant scorpions and brood wardens
- 10The Sphinx's courtThe Sphinx
- 11The Maw's sinkholeThe Maw
- 12The Scorpion ThroneThe Scorpion King
- 13The Great PyramidThe Temple of the Hidden Sun raid
- 14The pyramid's side doorThe galleries, deep halls and deep vaults
- 15The Tomb of the KingsDungeon - Ozymandias, King of Kings
- 16The Sandstone CavernsDungeon under the mesas
- 17The oasis of AmmonThe Oracle and the river ferry
- 18The caravanseraiEnchanting table
- 19The quarry camp
- 20The nomad campHunting and the summoning obelisk
| # | Zone | Monsters | Opens |
|---|---|---|---|
| 1 | The Shifting Dunes | Dune jackal, Sand crab | - |
| 2 | The Salt Pans | Brine serpent, Salt-crusted crab | |
| 3 | The Red Badlands | Mesa bandit, Badlands hyena | |
| 4 | The Garamantian Canyon | Garamantian raider, Garamantian outrider | The Sphinx |
| 5 | The Necropolis | Necropolis mummy, Anubite tomb guardian | |
| 6 | The Great Sand Sea | Sandworm, Dune wraith | The Maw |
| 7 | The Scorpion Wastes | Giant scorpion, Brood warden | The Scorpion King |


Lindos' town crier will point you at the zones.
The land bosses
Six bosses, three a land. Each drops its land's material every kill (5 Rimeheart or 5 Sunstone), Adamas shards often, two gear pieces at 1 in 60 each, a Reliquary at 1 in 20 and a Coffer at 1 in 400. Three of them also carry rarer cosmetic-tier pieces.
| Boss | Where | Gear (1/60 each) | Rarer |
|---|---|---|---|
| Gryps, the Griffin Queen | The Griffin's Eyrie, off the Crevasse Fields | Frostfang gauntlets, Frostfang longbow | |
| The Ketos | The Breach of the Ketos, off the Crevasse Fields | Hoarfrost amulet, Hoarfrost staff | |
| Kryos, the Glacier King | The Glacier Throne, at the head of the Tongue of Boreas | Avalanche legguards, Avalanche greatsword | Avalanche helm and platebody (1/90), Wings of Boreas (1/180) |
| The Sphinx | The Sphinx's court, off the Garamantian Canyon | Mirage aura, Mirage ward | |
| The Maw | The Maw's sinkhole, in the Great Sand Sea | Dunereaver cuirass, Dunereaver sword | Dunereaver helm (1/90), Dunereaver wings (1/180) |
| The Scorpion King | The Scorpion Throne, in the Scorpion Wastes | Simoom ring, Simoom crossbow | Phoenix wings (1/180) |


The 18 quests
The Far Lands have their own quest line in the Quest Log: seven for each land, three that need both, and The Far Grimoire, which you can do in either. 32 quest points in all. Every quest is hands-on - quest-only drops from the land's monsters, something you make on a land skill, and most end in a personal boss fight. Theano and Kleobulos give several quests each; when one person has more than one for you, their chat offers Ask about each.
Pindos
| Quest | Start | Needs |
|---|---|---|
| The Frost-Bound Folio (Experienced) | Theano, in Metsovo's agora | - (opens zone 1; the first part of the Tome of the Ascendant) |
| Frost on the Ledger (Intermediate) | A banker in Metsovo's counting-house | The Folio, Herblore 150 |
| The Huntress of Pindos (Intermediate) | Atalanta, in her hunting lodge | The Folio, Slayer 150, Fletching 150 |
| The Wreck at Whitestrand (Experienced) | The ice-fisher on Metsovo's quay | Whitestrand open, Smithing 150 |
| Into the Crevasse (Experienced) | The steward of the Boreads, at the palace gate | The Crevasse Fields open, Firemaking 150 |
| The Furrier's Winter (Intermediate) | Arktos the furrier, in the market lane | The Folio, Hunter 150, Crafting 150, Fishing 150 |
| The Gate of the North Wind (Master) | Theano | Every step on the road done (::progress) - pays the Seal of the North Wind |
Rhodos
| Quest | Start | Needs |
|---|---|---|
| The Sun-Scorched Leaves (Experienced) | Kleobulos, on the road up from the Lindos harbour | - (opens zone 1; the second part of the Tome of the Ascendant) |
| The Bridge of Helios (Intermediate) | The harbour master on the Lindos quay | The Leaves, the Salt Pans open, Smithing 150 |
| The Hunters' Court (Intermediate) | Perseus, in the Hunters' Court | The Leaves, Slayer 150, Herblore 150 |
| The Spring of Kyrene (Experienced) | The water carrier by the pool in the agora | The Red Badlands open, Smithing 150 |
| Look on My Works (Experienced) | The pilgrim at the Oracle of Ammon | The Necropolis open, Herblore 150 |
| Sand and Sunglass (Intermediate) | The glassblower in the agora | The Leaves, Mining 150, Crafting 150 |
| The Hidden Sun (Master) | Kleobulos | Every step on the road done (::progress) - pays the Seal of the Hidden Sun |
Both lands
| Quest | Start | Needs |
|---|---|---|
| The Concord of the Ascendant (Master) | Theano | The Folio and the Leaves - ends with the Tome of the Ascendant |
| Fur for Glass (Experienced) | The steward of the Boreads | The Folio and the Leaves. Its last choice decides which town gains the standing |
| The North Wind and the Sun (Grandmaster) | Theano | Both seals, one clear of each raid, the Concord, Fur for Glass and Crafting 150 - pays the title Arbiter of Wind and Sun |
| The Far Grimoire (Experienced) | Medea, the Enchantress, at home | Enchanting 150, and Pindos or Rhodos open |
Until you finish The Far Grimoire, Enchanting gains no experience past level 150 and the land enchanting tables turn you away. Two thieves tore Medea's book in half: beat Chione the snow-witch by the standing stones on the Rhipaean Snowfields for the frost pages, and Lamia of the Sands under the rock arch in the Shifting Dunes for the sun pages, then bind them at an enchanting table. Medea gives you the Grimoire of the Far Lands. Lose the book and she gives you another - the unlock stays.
The three tome quests - the Folio, the Leaves and the Concord - hand out the five parts of the Tome of the Ascendant: "Bind" the front cover to join them. The tome is the way to the Book of the Ascendant, the Divinity spellbook for levels 150-200, whose spells are paid in the new land runes.
What the quests pay
Expansion rewards only: Dracma, the land's boxes, its material, Adamas shards, Ascendant lamps and town standing. Each land quest pays one of three bands.
| Band | Dracma | Boxes | Material | Adamas | Lamps | Standing |
|---|---|---|---|---|---|---|
| A | 15,000,000 | 9 Satchels | 25 | - | 2 | +75 |
| B | 25,000,000 | 6 Caches | 50 | 2 | 3 | +100 |
| C (the seal quests) | 40,000,000 | 3 Reliquaries + 6 Caches | 75 | 5 | 4 | +150 |
A Lamp of the North Wind or Lamp of Helios gives 5,000,000 experience in one skill that is between 150 and 199.
The Hall of the Boreads (Pindos)
The Boreads' hall sleeps under the Gate of the North Wind, north of Metsovo's north gate. With the Seal of the North Wind, go down to the Gate Hall, or use Hall of the Boreads on the Raids tab of the teleport menu. "Gather" at the Stone of the Boreads to open the party board - ::boreads opens it too when you stand in the Gate Hall.
- Up to 5 players, Normal or Hard (Hard: bosses have 1.8x hitpoints and hit 1.4x as hard).
- Invites are answered with
::boreadsaccept/::boreadsdecline.::boreadsleavewalks you out of a run. - The hall is one walked complex: four halls behind four doors. Walking into a hall wakes its fight and shuts the door behind the party; the boss's death opens the way on. If you die, you wake at the entrance of the furthest hall your party has reached.
- Skills play almost no part: nothing in the raid needs a skill level or a tool.

1. The Gale Hall - Zetes and Calais
Everything here is wind, and the pillars are the answer to all of it.
- The vents. Six gale vents line the north wall. Snow streams down a vent's lane before it blasts - anyone in that lane is thrown south into the wall, unless a pillar stands between them and the vent. "Close" shutters a vent for a while.
- Calais aloft. While Zetes lives, Calais keeps to the rafters, immune, and strafes rows of the hall with frost-fire. A pillar on your row between you and him is your cover. When Zetes falls, Calais comes down for good.
- The vents are a dial on Calais: every vent shut while you fight him, he takes +10% damage and deals 8% less (all six: +60% / -48%).
- Zetes' dash. A wind streak runs down a three-wide band through a player, then he charges it. A pillar stops the dash in its column.
- The whirlwind. From 60% Zetes looses a whirlwind that wanders after a player. Touch it and it throws you. It keeps blowing after he falls.
2. The Frozen Lake - Chione
The ice under you is the fight. Lake ice cracks, fissures and then opens into water.
- The water. You can swim, but you can't fight or run, and you drown - a hit every two ticks that grows. Step onto any ice to haul yourself out. Open water refreezes after a while.
- Her slam. The ice under 1-3 players cracks - that is the warning - then her fist comes down on those tiles and cracks them again.
- The ice block. She freezes a player solid. Teammates "Mine" the block, bare-handed or faster with a pickaxe, before it shatters for big damage. Alone, you can chip yourself out.
- The drowned dead climb out of open water to fight for her. An add whose tile opens drowns - crack the ice under them.
- 66%: the undertow. Statues wake as frozen heroes, and the lake drags anyone near open water towards it.
- 33%: the breakup. More statues wake, and patches of ice round players groan, fissure and sink.
3. The Crystal Grotto - the Crystal Warden
- Resonance. Six crystals charge one at a time. When three sing at once the Warden begins Prism Nova, a room-wide blast. "Shatter" a charged crystal to drain it early - the Nova fizzles - but it bursts shards over every tile within two of it.
- The Rimewall at 75%, 50% and 25%: crystal walls seal the grotto into three pockets with the Warden caged and immune in the hub. A Shard echo wakes in each pocket. Shatter the walls through. Lattice Collapse punishes anyone left alone in a sealed pocket. Breach the hub ring and the rest of the wall crumbles.
4. The Throne over the Abyss - Boreas
The North Wind fights on a floor of stone slabs over the void, joined to the rim by bridges of stepping stones. The breaking floor is the fight.


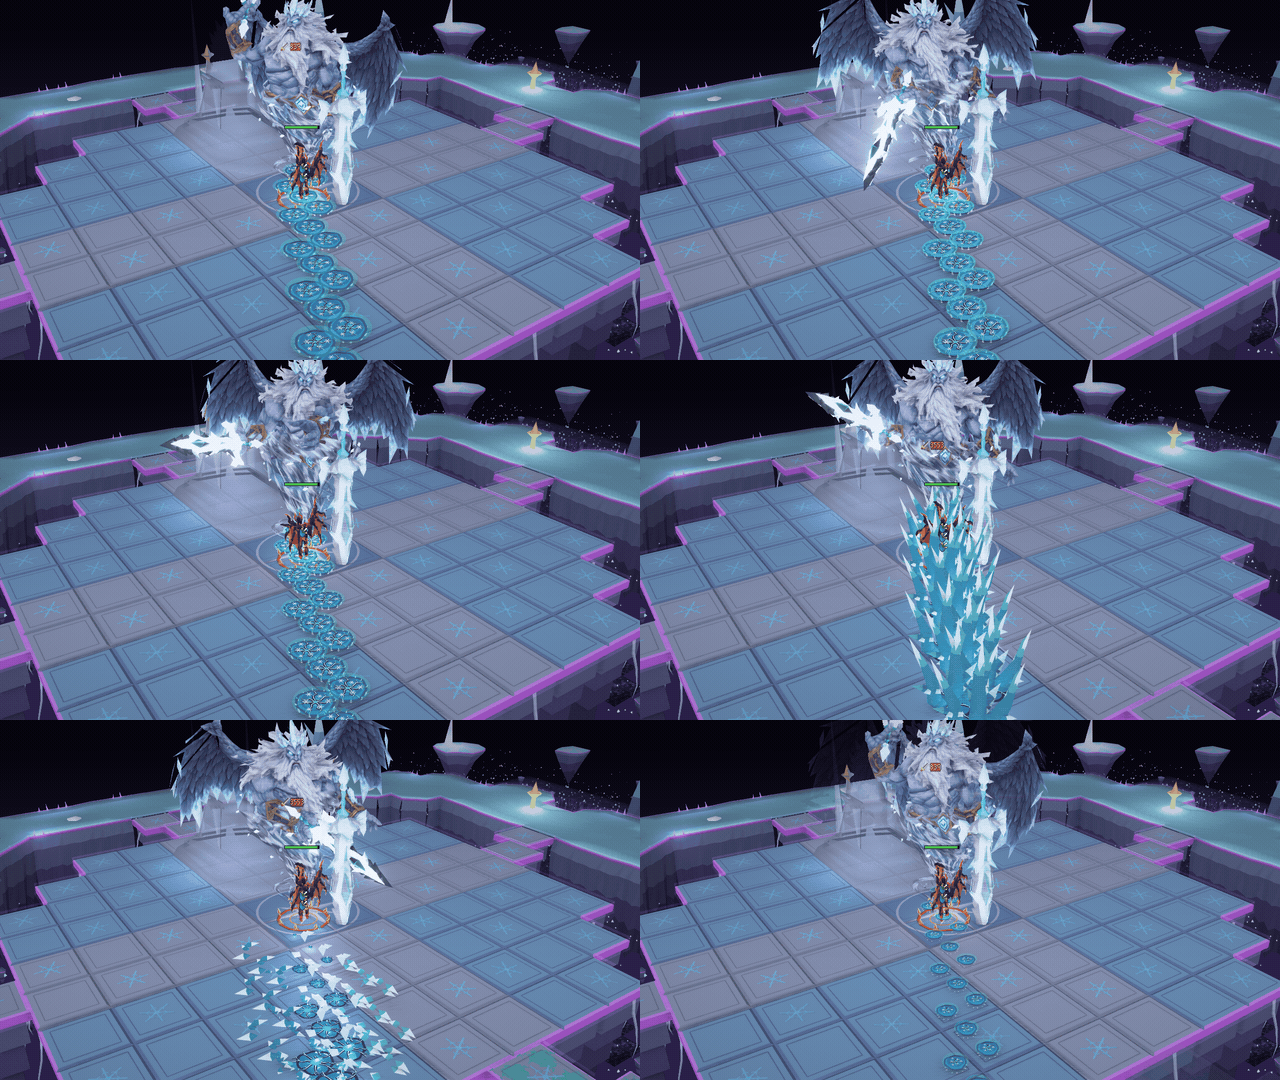

- Stand still and the floor goes. The storm finds whoever stands still: the slab under them shakes and its seams glow, then it falls. Ice regrows fallen slabs later, so the arena keeps changing. Two whole ways in always stand.
- The plunge. If Boreas is standing on a slab when it falls, he falls with it, claws back and is staggered - held still and taking x1.5 damage. Lure him onto the cracks.
- Ice spikes run along a line of rime from his feet towards a player, and icicle rain marks shadows on and round each player. Every tile that will be hit is marked for the whole windup - step off it.
- Storm rings sweep the floor except for one gap ring, marked green. Anyone caught is shoved outward, and a shove across the void is a fall.
- The heave (from 75%): the floor tilts and everyone slides downhill. Stand with ground behind you, or brace against Boreas himself.
- Falling costs damage, a stun and the walk back. It is never lethal on Normal.
- The Long Winter. Frostbite stacks build on everyone, burn, and slow you at high stacks. Stand within 3 tiles of a lit hearth or one of the four rim braziers to clear them. "Take-logs" at a woodpile and "Light" a cold hearth - anyone can. Boreas snuffs a hearth every phase.
- 75%: Obliteration - the quarter of the floor where most of you stand crumbles, and a bridge with it.
- 50%: Aloft - he rises over the abyss, immune, and throws ice bolts while the floor regrows. "Haul" the three wind-anchor chains on the rim to drag him down: grounded, stunned and taking x1.5. He comes back with a greatsword, and his slam cracks the slab it lands on.


- 25%: the Last Floor - every quarter breaks away for good, and the party shares what is left under a faster storm.
- The erosion. A slow fight loses slabs for good, and once there is nothing left to lose, frostbite builds twice as fast.
The chest stands before the throne.
The Temple of the Hidden Sun (Rhodos)
The temple lies under the Great Pyramid, south-east of the oasis. With the Seal of the Hidden Sun, go through the pyramid's portal, or use Temple of the Hidden Sun on the Raids tab. Party up at the raid board in the lobby ("Party").

- Up to 5 players, Normal or Hard (1.8x hitpoints, 1.4x damage, and every room has one more trick).
::sunaccept/::sundeclineanswer an invite.::sunleavetakes you back to the lobby.- Six rooms, one walked complex. Each gate opens when the room before it is won, and a death wakes you at the furthest room your party reached.
1. The Hypostyle of Ra - the Name of Ra
Four of the hall's thirty lotus columns hide Ra's cartouche - a new four every run. "Read" a column: a true one turns gold, a false one looses a scarab swarm (two on Hard), and its glyphs hint which way the nearest hidden cartouche lies. Find all four and the first gate opens. Standing at a shut gate tells you what opens it.
2. The Antechamber of Offerings - the cave-in
The way on is blocked by rubble held together by the robbers' curse. The robbers' shades rise and come for you. A shade killed within two tiles of a rubble pile drags its curse out - two such kills a pile (three on Hard) and it gives way. A shade killed anywhere else is wasted, so pull them onto the stone first. The side chapels' offering tables give each player one Saradomin brew a run.
3. The Hall of the Sun Barque - Mehen, the Coiled Warden
Mehen lies coiled in the channel and can't be hurt while submerged.
- Drain the channel. Two sluice wheels stand on opposite banks. Turn one, then the other inside the time window, and the channel drains for 25 seconds: Mehen is beached and takes +25% damage.
- Inundation. The flood plain floods every so often - it hurts, and nobody can run in the water. The banks and causeways stay dry.
- Coil lash sweeps a lane towards someone (two lanes on Hard), and he spits venom while submerged.
4. The Gallery of Judgement - the Negative Confession
Read the confession on the Stele of Confession - four glyphs on Normal, all six in a random order on Hard - and it stays on your HUD. Step the glyph plates in that order. A wrong plate is a lie: darts fire across that row and an Assessor of the Dead wakes. On Hard a lie also resets the confession, and once the first plate is lit the rest are on a timer.
5. The Chamber of Scales - Ammit, Devourer of the Unworthy
- The Weighing. The HUD calls "a heart of weight N". Fill the Great Scale's west pan with N Hearts of the Judged ("Take-heart" at the canopic altar) and its east pan with N Feathers of Ma'at ("Take-feather" at the urn). You carry one at a time and can't run while carrying. Balance it in time and Ammit is Judged for 20 seconds at +30% damage taken. Too slow, or a pan overloaded, and she devours: she heals and bites the whole room.
- Quicksand. She burrows into the pit, immune, and quicksand spreads ring by ring - it holds you in place and burns. Then she erupts under whoever stands nearest the pit.
- Jaws - a frontal cone at her target.
6. The Throne of the Hidden Sun - Helios-Ra
- The Solar Aegis. While the sun-shaft feeds him he can't be harmed. Four bronze mirrors stand round the room - "Turn" one and it faces the next way. The shaft lights the mirror nearest it, a lit mirror throws a two-wide beam the way it faces, and a beam can bounce on from mirror to mirror. When the beam strikes Helios-Ra - after one mirror, or a chain of two on Hard - the Aegis breaks for 20 seconds, once per hour of the sun. He chases you, so lure him into the light.
- High Noon. The sun moves through three hours - east, noon and west - and the shaft moves with it. At the end of each hour the sun strikes everyone not standing in that hour's colossus shadow.
- Khepri at 50% (and again at 25% on Hard): he becomes the scarab of the dawn and three golden scarabs crawl to the shaft. One that arrives heals him. Kill them, or stand beside one on its path to stun it - body-blocking doesn't work here.
- Corona - a ring of fire round him now and then.
The Treasure of the Hidden Sun waits in the victory chapel beyond the throne.
The raid chests
Both raids pay the same way, for each player, every clear. In a party of two or more you need at least 3% of the boss damage to claim.
| Roll | Normal | Hard |
|---|---|---|
| Shards - Krystallos shards (Boreads) / Pyros shards (Hidden Sun), always | 10 | 25 |
| A purple - a set piece, or (1 purple in 50) the raid pet. Broadcast | 1 in 40 | 1 in 25 |
| Uncut aetherheart - the raid gem, only from these chests | 1 in 15 | 1 in 8 |
| The raid's Ascendant codex - teaches one of the Book of the Ascendant's raid spells | 1 in 60 | 1 in 30 |
| Filler - bonds, consumables, land boxes, material, slayer uniques, enchant scrolls, Forgemarks, Dracma | 1 roll | 2 rolls |
The raid boosts (Well of Goodwill, Daily Bonus) add to the shards like they do to every raid's fragments. The pets are the Boread fledgling and Khepri's scarab.
A chest is never lost. If your bag is full the loot goes to a bank tab with room, else to the ground beneath you, and the game says where. Leave a won run without opening your chest and it is paid as you go - or, if you log out, a few seconds after your next login.



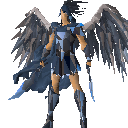
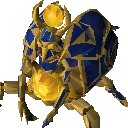



The raid sets: Krystallos and Pyros
The expansion's top gear. Krystallos (ice) comes from the Hall of the Boreads, Pyros (fire) from the Temple of the Hidden Sun. Each set has the same 17 pieces: helm, platebody, platelegs, gauntlets, boots, wings, aura, amulet, ring, shield, tome, aegis, and five weapons - greatsword, bow, staff, sword and crossbow. Both sets deal the same single-target damage: Krystallos leans to control and survival (chill, a damage shield, freezes), Pyros to spread (burns and splash). Every weapon has its own effect and special attack.


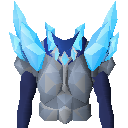

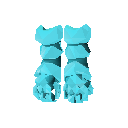
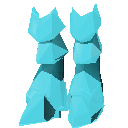

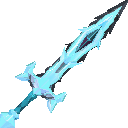

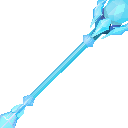


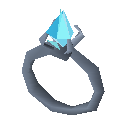



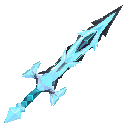


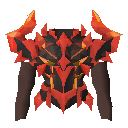
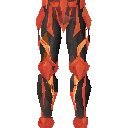
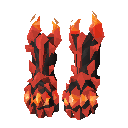


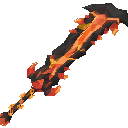

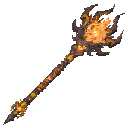

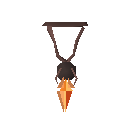
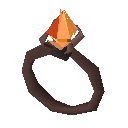
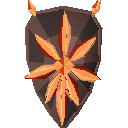



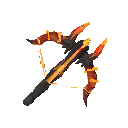
Every weapon has its own special attack:
| Weapon | Krystallos | Pyros |
|---|---|---|
| Greatsword | Glacier Fall | Fault Line |
| Bow | Aurora Veil | Phoenix Dive |
| Staff | Winter Wyrm - an ice dragon loosed from range | Caldera |
| Sword | Frostlace | Obsidian Brand |
| Crossbow | Icicle Lance | Magma Core |
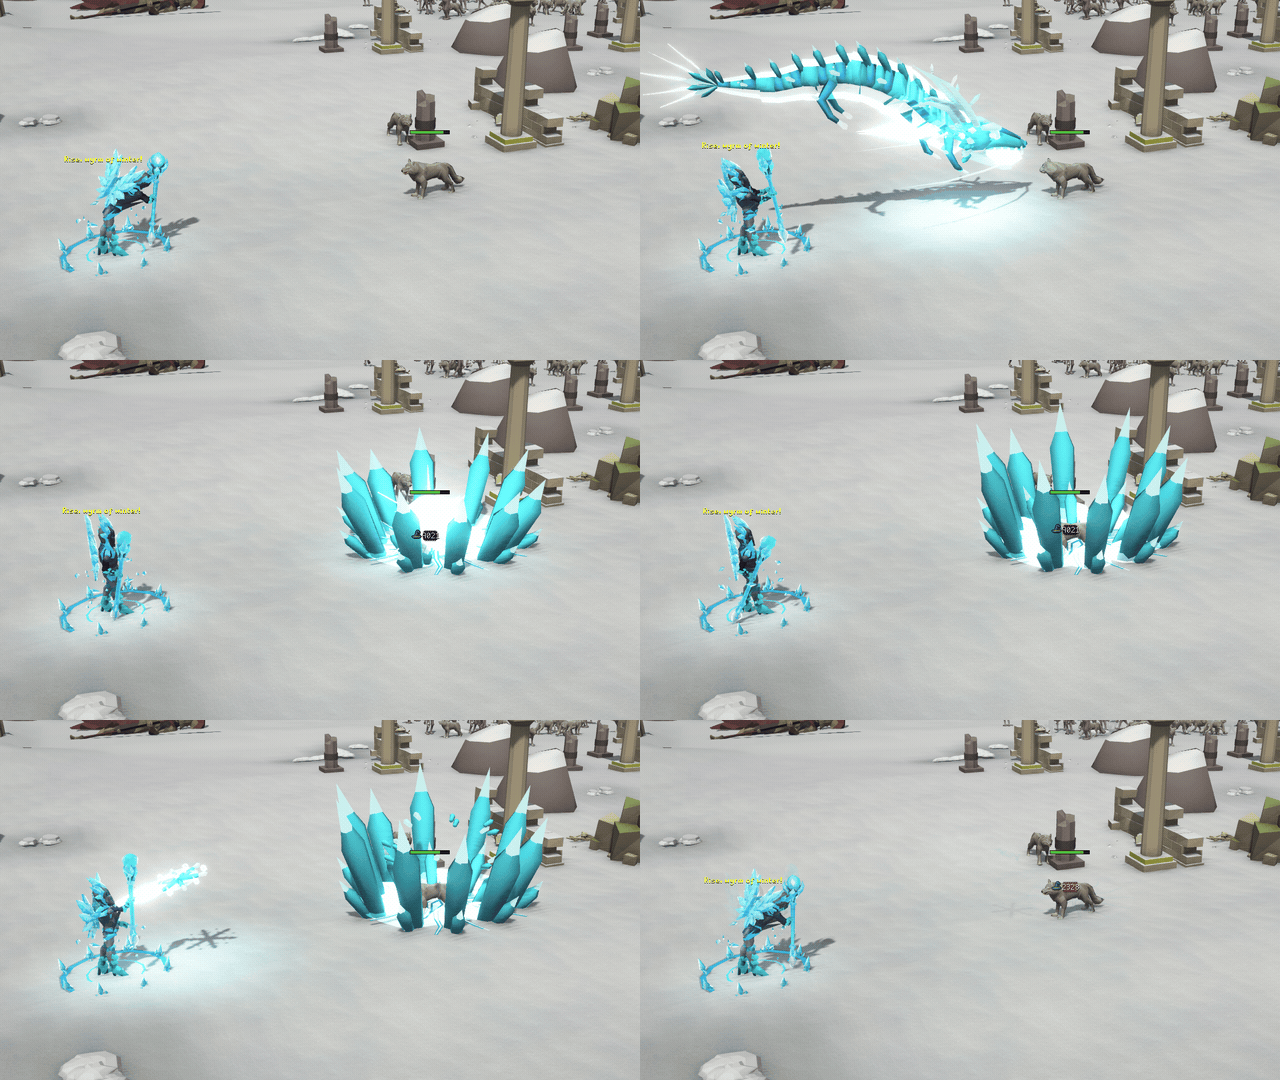
Any piece is forged at ::forge from the raid's own shards, so you choose what you work towards:
| Piece | Shards | Dracma | Forgemarks | Also |
|---|---|---|---|---|
| Armour, wings, jewellery, aura, off-hands | 3,000 | 210,000,000 | 25,000,000 | - |
| Weapons (greatsword, bow, staff, sword, crossbow) | 3,000 | 250,000,000 | 30,000,000 | 1 Aetherheart |
At 25 shards a Hard clear or 10 a Normal one, that is a piece of your choice about every 120 Hard or 300 Normal clears before boosts - and a purple can hand you one any run. Cut the Uncut aetherheart with a chisel at Crafting 195 to get the Aetherheart a weapon needs.
The Frost and Sun raid keys (100 key fragments each) can give Breath of Boreas, Solar Ichor and the Frostforged / Sunforged weapon frames - "Break down" turns the materials into 50 shards and a frame into 500.
The gear ladder
Below the raid sets, the lands fill every step. Each land's gear uses only that land's material.
| Tier | Gear | Where it comes from |
|---|---|---|
| T673-T688 | Town gear - Rimewarden gloves, boots and staff (Metsovo); Ring and Amulet of the Colossus, Colossus longbow (Lindos) | Forged from the land's material and Adamas shards, once your town standing allows it |
| T695-T700 | Land boss gear - Frostfang, Avalanche, Hoarfrost, Mirage, Dunereaver and Simoom pieces | The six land bosses (see above) |
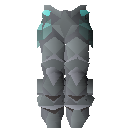
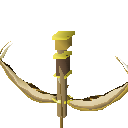
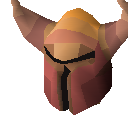
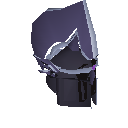
| T710 | Perseus' Panoply - Helm of Darkness, Winged sandals, Kibisis, Mirrored Aegis, Hermes' harpe | Forged from the land slayer uniques. +2% max hit on a slayer task per piece. The Helm of Darkness is the land slayer helm's upgrade |
| T710 | Aura of the Far Lands | Forged from 150 Rimeheart, 150 Sunstone and 10 Adamas shards - or claimed from the second Codex Book III you finish |
| T720 / T737 | Krystallos / Pyros | The raids. The Krystallos ring and aura and the Pyros amulet and wings are the T737 pieces |














Town standing
Metsovo and Lindos each keep a standing with you, earned by playing in their land: zone and dungeon kills (1 per 10), land bosses (10 each), slayer tasks from Atalanta or Perseus (100), raid clears (150, +100 on Hard), hidden collectables, goods you make, and quests.
| Standing | Points | Town gear it allows |
|---|---|---|
| Friendly | 250 | |
| Honoured | 1,000 | Rimewarden gloves, Ring of the Colossus |
| Revered | 2,500 | Rimewarden boots, Amulet of the Colossus |
| Exalted | 5,000 | Rimewarden staff, Colossus longbow |
You get a chat line each time you reach a new tier.
The Codex of the Far Lands
Six codex books, three per land, read beside your own codex series: Codex of Pindos I-III and Codex of Rhodos I-III. Each book claimed gives +1% damage and +0.5% drop rate (drop rate is counted in whole points, so +3% at six books). Book III of each land gives a title - Child of the North Wind or Sunborn (::codex title pindos / rhodos / off) - and whichever Book III you claim second gives the Aura of the Far Lands.


Slayer
Each land has its own master, its own task list (Slayer 150-195) and slayer monsters in its dungeons. Every task from a land master also pays a land box.
13 new Slayer tasks - one for every rung from 150 to 195:
| Atalanta (Pindos) | Slayer | Perseus (Rhodos) | Slayer |
|---|---|---|---|
| Rime weavers | 150 | Myrmex diggers - the Sandstone Caverns | 150 |
| Boreal direwolves | 159 | Gold-digging myrmexes - the Sandstone Caverns | 158 |
| Grey sisters | 168 | Uraeus asps - the Tomb of the Kings | 165 |
| Stormwing harpies | 177 | Embalmed champions - the Tomb of the Kings | 172 |
| Glacial serpents | 186 | Sacred scarabs - the Great Pyramid's lower galleries | 180 |
| Frost Gegenes | 195 | Mummified hall-guards - the Great Pyramid's deep halls | 188 |
| Risen priests of Ra - the Great Pyramid's deep vaults | 195 |
All of Atalanta's tasks are in the Caves of the North Wind, deeper bands for higher levels.
- Atalanta - her hunting lodge in Metsovo's north quarter. Pindos' dungeons are the Caves of the North Wind and the Catacombs of Elder Pindos.
- Perseus - the Hunters' Court on the south bank of Lindos, with Danae, who runs the Slayer shop. Rhodos' underground has the Tomb of the Kings in the Necropolis (where Ozymandias, King of Kings waits), the caverns under the badlands mesas, and the Great Pyramid's lower galleries and deep vaults.
The slayer monsters drop the uniques that forge Perseus' Panoply, and the tier-5 enchant scrolls - Frostbite, Sunfire, Rimeguard, Solar Ward and Wayfarer - which are never sold anywhere.





Found enchants
Twenty new weapon and armour enchants are found, never crafted - one scroll each, at full strength, dropped by the lands' own monsters. Every zone, dungeon and boss group has its own.






Skills 150 to 200
Every skill, combat included, now goes to 200.
- Level 151 costs 50M experience past 150, rising steadily to 150M for level 200 - about 7 billion experience in all for 200.
- Full rate inside Pindos and Rhodos, their dungeons and raids, and from new expansion content. Anywhere else, a skill at 150 or higher gets only x0.05 of its experience. Experience that crosses 150 still pays the part below 150 in full.
- 150 stays the mastery level - skill capes, the Max cape and prestige still look at 150.
- Combat: levels above 150 count at half in the combat formulas, so 200 adds roughly 15% to your max hit. Potion boosts count in full.
- Your skill tab shows your level against the cap (for example 150/200).
Gathering and making
| Skill | Pindos | Rhodos |
|---|---|---|
| Mining | Rimeiron 150, Glacite 180 (uncut rime opals) | Skyfall iron 150, Electrum 195 (uncut carnelians) |
| Woodcutting | Boreal pine 150, Silver fir 180 | Date palm 150, Acacia 195 (gum arabic) |
| Fishing | Rimefin 150, Ice char 180 (needs an Ice auger at the ice holes) | Tritonis perch 150, Sacred carp 195 |
| Smithing | Rimeiron and Glacite bars and plates | Skyfall bars and rivets, Electrum bars and plates |
| Firemaking | Burning gives Wood ash; Boreal pine also gives Pine charcoal | Palm logs give Palm charcoal |
| Crafting | Fur lining 150, Lynx mantle 175 (sewn with a needle and thread); rime opals 180 | Glass sand from the sandstone faces, molten sunglass, Sunglass vials 150 and beads 175; carnelians 190 |
Smelting a land bar takes one ore and one Pine or Palm charcoal at a furnace. Cook land fish on any fire, range or brazier, and fletch land logs into kindling, rope and staves with a knife.
The other skills
- Hunter - White fox 150 and Rime lynx 175 on the snowfields near Zetes' Lodge (box trap); Fennec fox 150 and Sacred scarab 175 in the nomad dunes (box trap, and a butterfly net for scarabs). Arktos the furrier and Artemis sell the tools.
- Agility - four courses: the Rimewall run (150, Pindos, north-east of Metsovo), the Colossus ruins run (160, Rhodos), the Boreas icefall run (170, Pindos, above the Gate of the North Wind) and the Garamantian gorge run (180, Rhodos). The harder courses are longer and riskier. Silverhawk boots work at x1.5 inside the lands.
- Farming - herb beds at Oreithyia in Pindos and on Rhodos' farming plots. Crops grow in 20 minutes, even while you are offline, with no disease.
- Herblore - four land potions that only work inside the lands: the Hearthfire draught (the cold can't touch you for 15 minutes), the Snowbloom tonic (warmth and healing), the Silphium panacea (cures poison and thirst) and the Draught of Kyrene (extra skilling experience inside the lands for 20 minutes).
- Archaeology - two dig sites a land (150 and 175), each with a restoration table. Restored relics go in the ammo slot and help in their own land - more gathering, slower warmth loss or slower thirst.
- Summoning - four land familiars: Snow fox spirit 150 and Rime lynx spirit 175 (Rime charms), Fennec spirit 150 and Sacred scarab spirit 175 (Sun charms). Infuse their pouches at the obelisks by Zetes' Lodge and the nomad camp. They can only be summoned in their own land.
- Enchanting - the land enchanting tables at Rhipaea and the caravanserai (after The Far Grimoire), with four land reagents.
- Thieving - the capitals' stalls. Prayer - land bones, worth half again on a land altar.

Runecrafting 150-200
Four new runes, crafted only from Primordial essence at the new altars - the old altars turn it away, and the new altars take nothing else.
| Rune | Level | Land |
|---|---|---|
| Chione rune | 150 | Pindos |
| Ammon rune | 160 | Rhodos |
| Aurora rune | 175 | Pindos |
| Phoenix rune | 190 | Rhodos |
- Primordial essence is mined at Mining 150 from essence rocks that never run out. It is tradeable and can be noted.
- The new runes pay their experience per essence, not per rune, so extra runes from a higher level don't multiply it.
- They are the runes the Book of the Ascendant spends.





Ascendant lamps
The Lamp of the North Wind and Lamp of Helios from the quests give 5,000,000 experience to one skill between 150 and 199. A skill already at 200 is refused, and you keep the lamp.
The towns
Metsovo
The walled capital of Pindos.

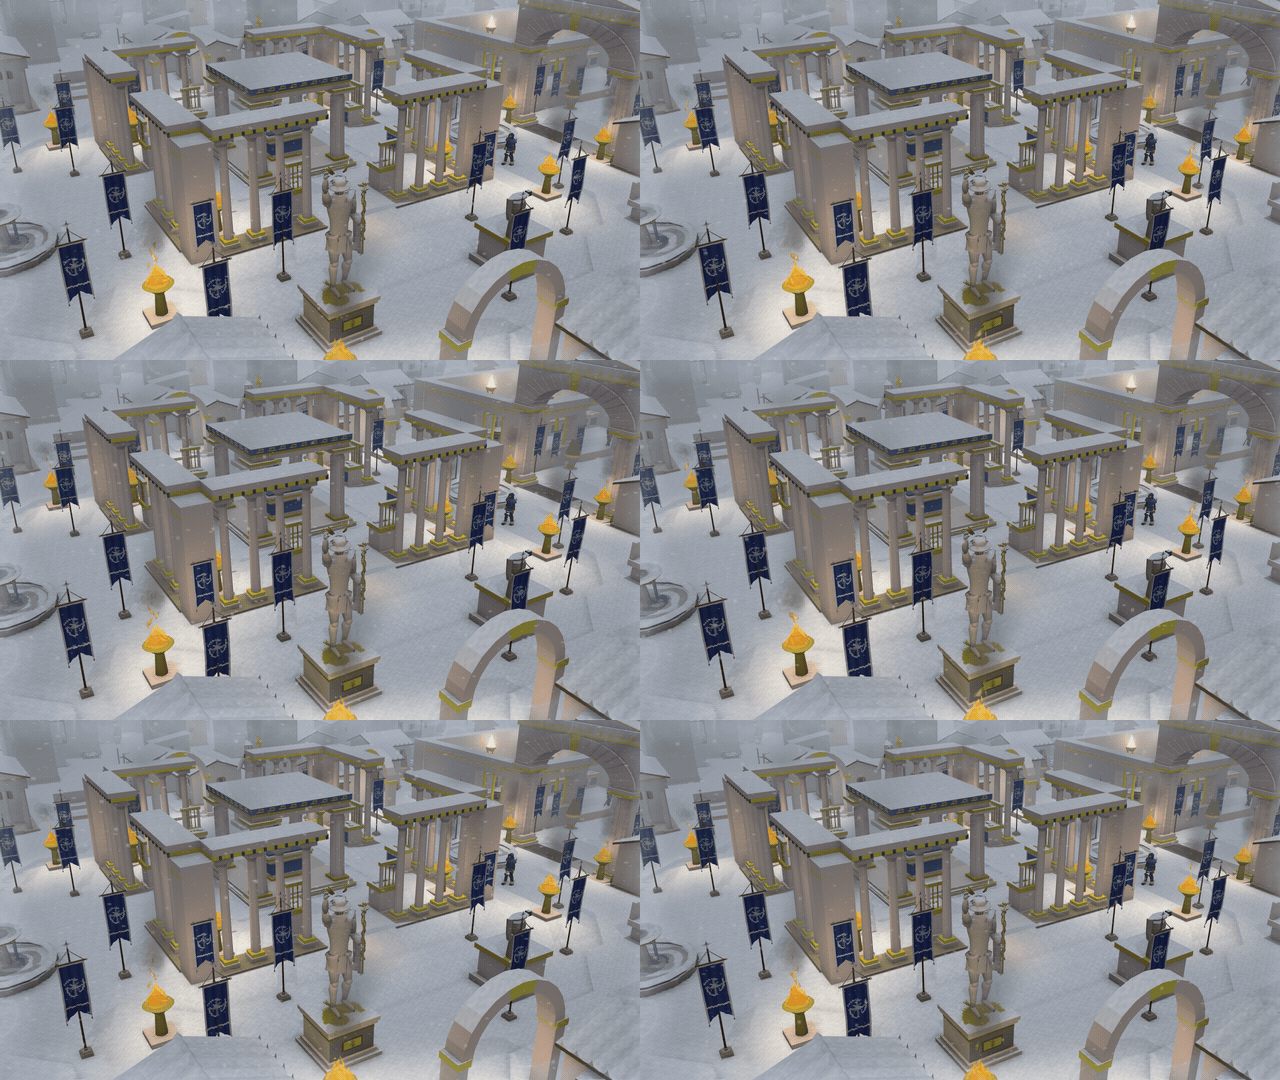
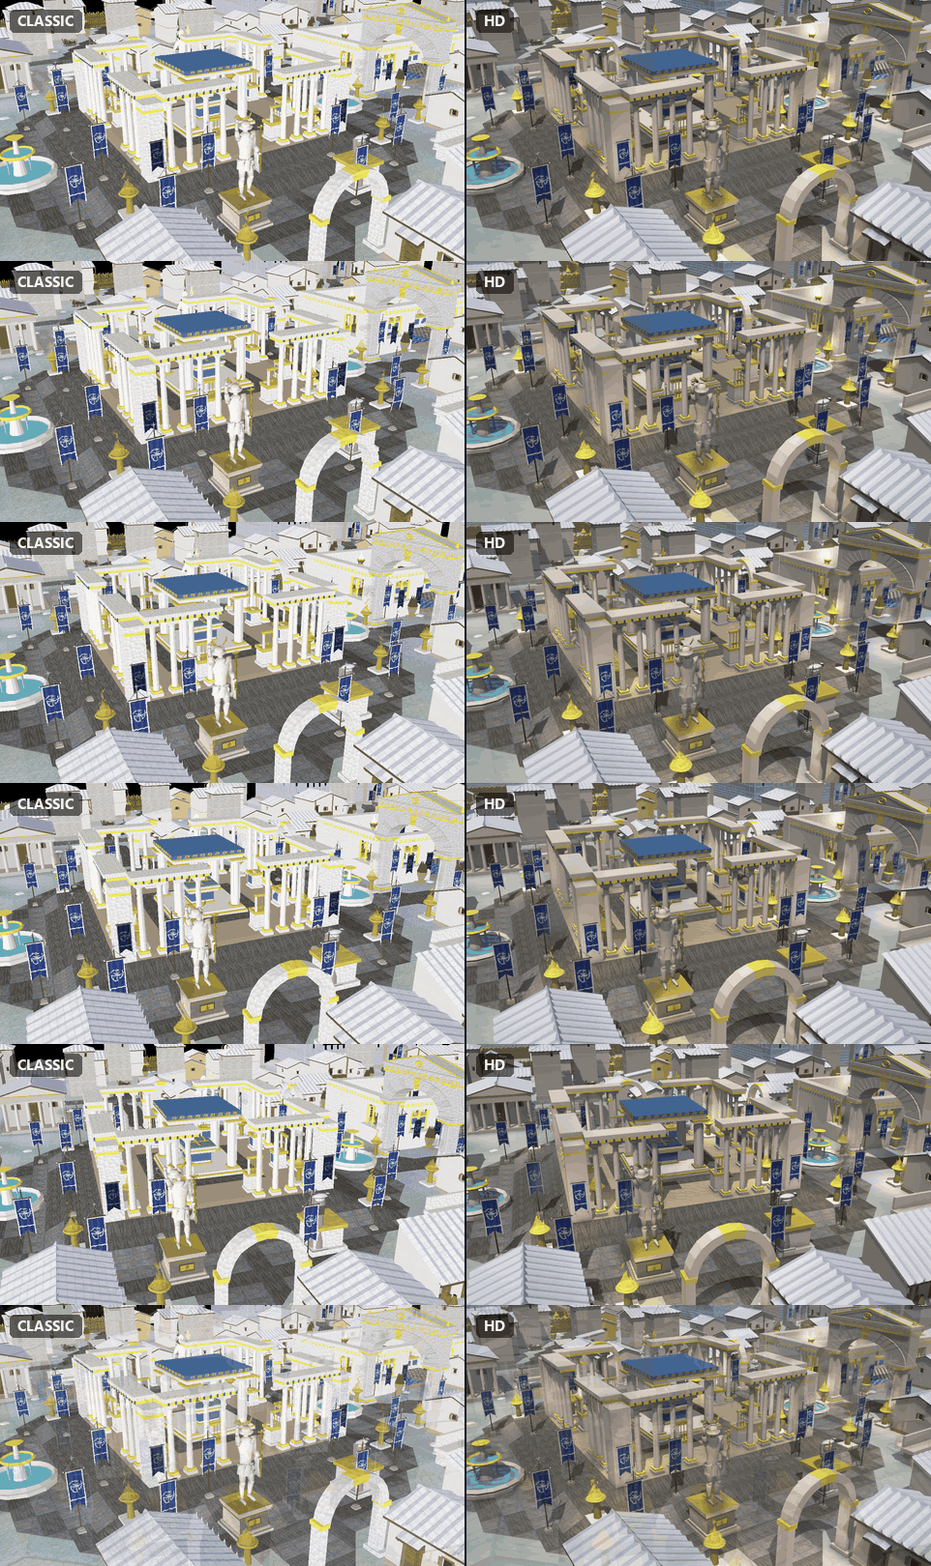
- The counting-house - a long counter with bankers.
- The Agora of Hermes - the exchange, in the middle of the agora (an Agora spot of its own).
- Theano in the agora, the altar of Metsovo by the south gate.
- Atalanta's hunting lodge in the north quarter - the slayer hub.
- The Quartermaster, just inside the east gate, and the town's traders - Arktos the furrier in the market lane among them.
- The palace of the Boreads, with its steward at the gate, and the frozen Swan Mere, where you can ice-fish.
Elsewhere in Pindos: Rhipaea, the mining camp on the road in from the Pass; Zetes' Lodge to the west; and Oreithyia, a fishing village on a cove in the west, with herb beds and the quest of the wreck.
Lindos
The harbour capital of Rhodos.


- The trapeza - the bank, with tellers along its colonnade.
- The Agora - the exchange clerks, the pool, the glassblower and the town's merchants.
- The Hunters' Court on the south bank - Perseus and Danae.
- The harbour - the felucca to Kenchreai, the Quartermaster, the harbour master and the Pharos.
- The Bridge of Helios over the river, with a fish market and fishing off the river stairs. The river ferryman takes you up to the oasis.
- A provisioner, an herbalist (who refills waterskins), a smith, the priest of Zeus-Ammon and a town crier who knows the zones.
Elsewhere in Rhodos: the oasis of Ammon and its Oracle, the caravanserai, the quarry camp in the Red Badlands, the nomad camp and the Great Pyramid.
The point stores
Every point store carries the lands' lines while the land is open. Most are capped per day, so they top up the grind rather than replace it.
| Store | Item | Price | Daily cap |
|---|---|---|---|
| Vote | Rimebound / Dune-worn Satchel | 3 Voting Points | |
| Frostwarden's / Sunwarden's Cache | 12 Voting Points | 3 each | |
| Skilling Point Store | Pine charcoal | 15 | |
| Ice auger / Portable brazier | 15,000 / 3,000 | ||
| Ember flask / Ammon's waterskin | 7,500 / 4,500 | ||
| Rimeheart / Sunstone | 750 | 25 each | |
| Wayfarer's hood, coat, trousers, boots (+2.5% experience each at 150+ in the lands; all four +12.5% and immune to frost and heat) | 45,000 each | ||
| Far Lands satchel (holds 1,000 raw land resources) | 60,000 | ||
| Olympian Point Store | Rimeheart / Sunstone | 400 | 50 each |
| Adamas shard | 30,000 | 2 | |
| Frostwarden's / Sunwarden's Cache | 15,000 | 3 each | |
| Boreal Reliquary / Reliquary of Ammon | 75,000 | 1 each | |
| Frost / Sun raid key fragment | 1,500 | 10 each | |
| Bond Point Store | Coffer of the North Wind / of the Hidden Sun | 18 | |
| Vault of Boreas / Ark of Helios-Ra | 44 | ||
| Far Lands satchel | 30 | ||
| Wayfarer's outfit | 20 a piece |
None of the stores sell the gear itself, raid shards, Panoply pieces or uniques, raid materials or frames, whole raid keys, pets, codex books, the land slayer helms or the enchant scrolls.

The Frozen March
The expansion also opens the Frozen March, a PvP land in the frozen north. It has a guide of its own: the Frozen March.
Tips
- Check
::progressoften. It shows exactly what the next step is, in both lands. - Do the 150 quests as you go. Most of them sit on the zones you are already grinding, and every one pays land material, lamps and standing.
- Warmth and water first. A Hearthfire draught, an Ember flask or the Wayfarer's outfit in Pindos, and a full waterskin in Rhodos, save a lot of walking back to a fire or a well.
- Bring friends to the raids - but make sure each of them holds the seal.
- In the Throne over the Abyss, keep moving. A still player is the storm's favourite target.